
| Tweet |

Custom Search
|
|

|
||
 TM 5-2805-261-13
LOCATION/ITEM
ACTION
REMARKS
5-10. CRANKSHAFT AND PISTONS DISASSEMBLY/ASSEMBLY - continued
ASSEMBLY
8.
Pistons (21)
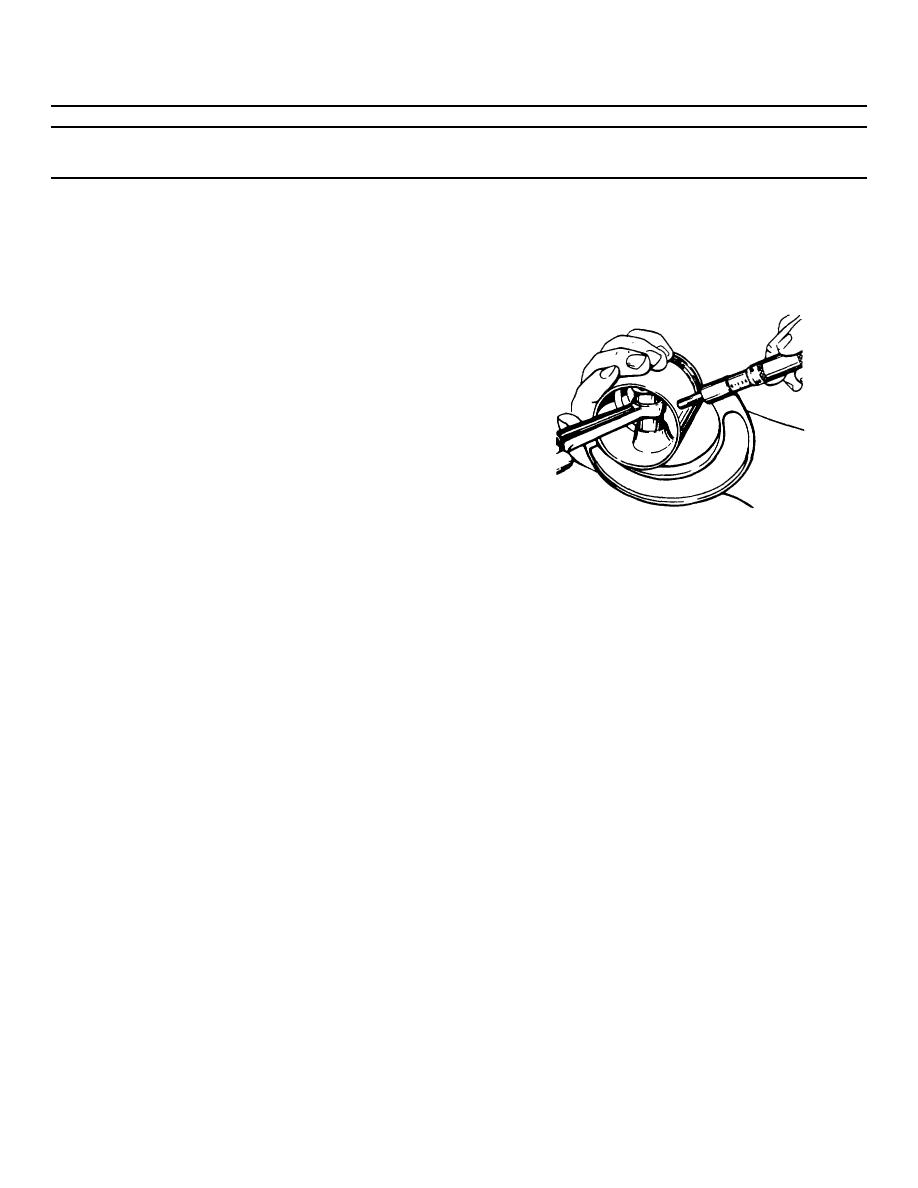
Check with micrometer to
MICROMETER CHECK
see if piston has become
distorted during assembly.
Take micrometer readings of the outside diameter of
Take two readings, 90apart.
the pistons at the bottom (skirt).
9.
Pistons (21)
Replace if the variation in
the readings at the skirt
are greater than 0.0025 in.
(0.0064 cm).
CAUTION
Be sure rings fit freely. Be
sure the retaining pin in the
piston groove is in the center
of the piston ring gap.
10. Piston rings (15)
Install on pistons.
11. "O" ring (10)
Slide on to crankshaft (22).
12. Seal (8)
Install.
Figure 5-19. Micrometer check of pistons
13. Bearing (9)
Slide on to crankshaft (22).
14. "O" ring (7)
Install in crankshaft (22).
15. Bearing (6)
Press on to crankshaft (22).
16. Snap ring (5)
Install in groove behind
Use snap ring tool no. 303859.
bearing (6).
17. Seals (4)
Install back-to-back in
crankcase head (2).
18. "O" ring (3)
Install in groove in crank-
case head (2).
5-34
|
||
|
||


