
| Tweet |

Custom Search
|
|

|
||
 TM 55-1905-242-14
0179 00
REMOVAL (continued)
4
1
3
2
7
5
6
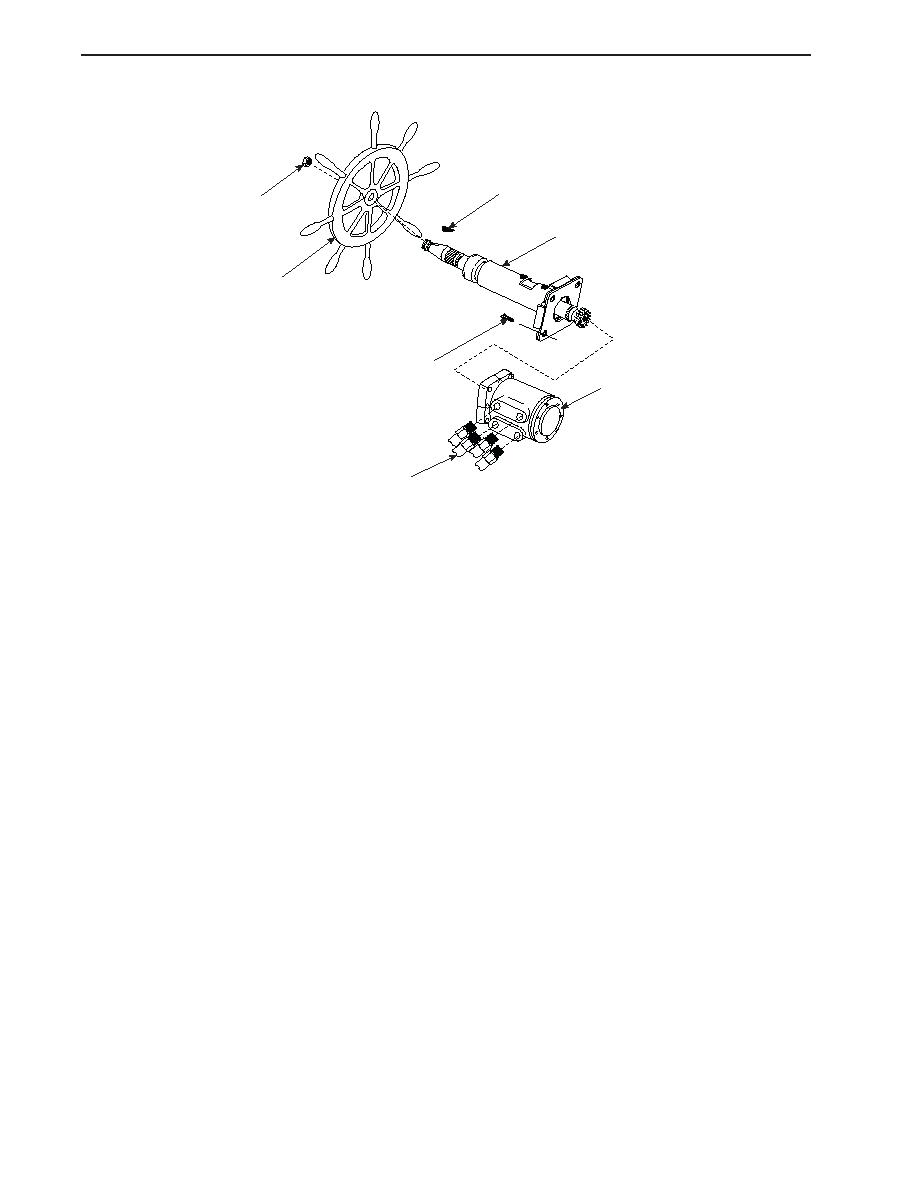
INSTALLATION
NOTE
Rotate the steering column shaft while bringing the steering column and helm unit
together. This will allow the splines on the steering column to engage the splines on the
helm unit.
1.
With one crewmember holding the steering column (3) and the other holding the helm unit (5), bring the units together
at the console. Rotate the steering column shaft while bringing the units together to allow the splines on the units to
engage.
2.
Secure the steering column (3) to the helm unit (5) with the bolts (7). Torque the bolts to 23 lb-ft (31 Nm).
3.
Remove the caps from the four hydraulic hoses (6) and install the hydraulic hoses to the helm unit (5) using the labels
from step 4 of Removal as a guide.
4.
Install the key (4) and helm (2) on the steering column (3), and secure in place with the nut (1).
5.
Clear the lockouts and tagouts and bleed the air from the system by steering from hard port to hard starboard and back.
Perform eight to ten cycles of port/starboard steering to completely purge the air from the system.
6.
Check the operation of the system, ensuring that the helm operates normally and that no leakage is present.
7.
Check the hydraulic fluid level in the reservoir and replenish it as required.
8.
Install the access panel below the helm.
9.
Dispose of used hydraulic fluid and contaminated materials in accordance with local regulations.
END OF WORK PACKAGE
0179 00-2
|
||
|
||


