
| Tweet |

Custom Search
|
|

|
||
 TM 55-1905-242-14
0208 00
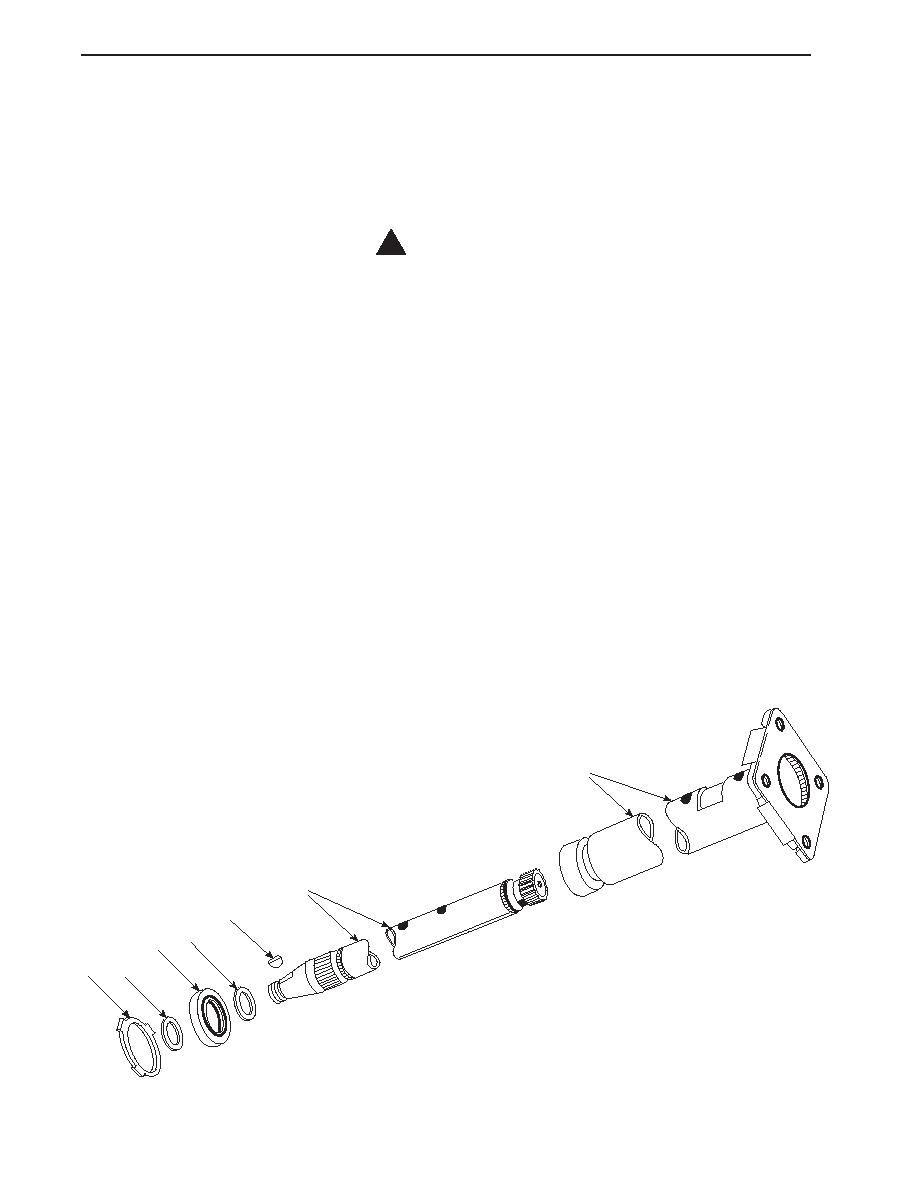
DISASSEMBLY--CONTROL SECTION
1.
Don chemical protective gloves and goggles.
2.
Support the control section in the vise, loosen the capscrews (8), and remove the mounting plate (9).
3.
Remove the oil seal (10), preformed packing (11 and 12) and bushing (13) from the face of the housing (14).
! CAUTION
When removing the spool and sleeve assembly, be extremely careful to prevent these
parts from binding, as they are closely fitted. They must generally be rotated slightly as
they are withdrawn. The parts may be damaged if they are bound on disassembly.
4.
Place the housing (14) on a solid surface with the port face down, so that it can be held securely. Remove the control
spool (15) and control sleeve (16) from the housing.
5.
Push the inside lower edge of the control spool (15) so that the control spool moves toward the splined end of the control
sleeve (16).
6.
Remove the centering spring set (17) and centering pin (18) from the spring slot in the control spool (15).
7.
Remove the seal plug (19) and packing (20) from the housing (14).
8.
Unscrew the check valve seat (21), ball (22), and check valve compression spring (23) from the housing (14).
9.
Remove the capscrews (24) that secure the end cap (25) and remove the end cap.
10. Remove the shaft spacer (26), meter gear (27), star gear (28), plate (29), and drive shaft (30).
6
5
7
4
3
2
1
0208 00-2
|
||
|
||


