
| Tweet |

Custom Search
|
|

|
||
 TM 55-1905-242-14
0214 00
DISASSEMBLY (continued)
3
1
2
12
16
14
1
15
2
4
5
13
7
6
11
8
9 10
CLEANING
1.
If not already on, don protective gloves and goggles.
2.
Clean all metal parts in cleaning solvent and dry with clean wiping rags.
INSPECTION
NOTE
Minor nicks and burrs may be removed by lightly polishing the affected parts. Replace
any parts that have more significant damage.
1.
Inspect the spring for distortion, loss of tension, or broken coils.
2.
Inspect the pins, ball, piston, and blocks for burrs or nicks.
3.
Discard all packing and replace with new.
ASSEMBLY
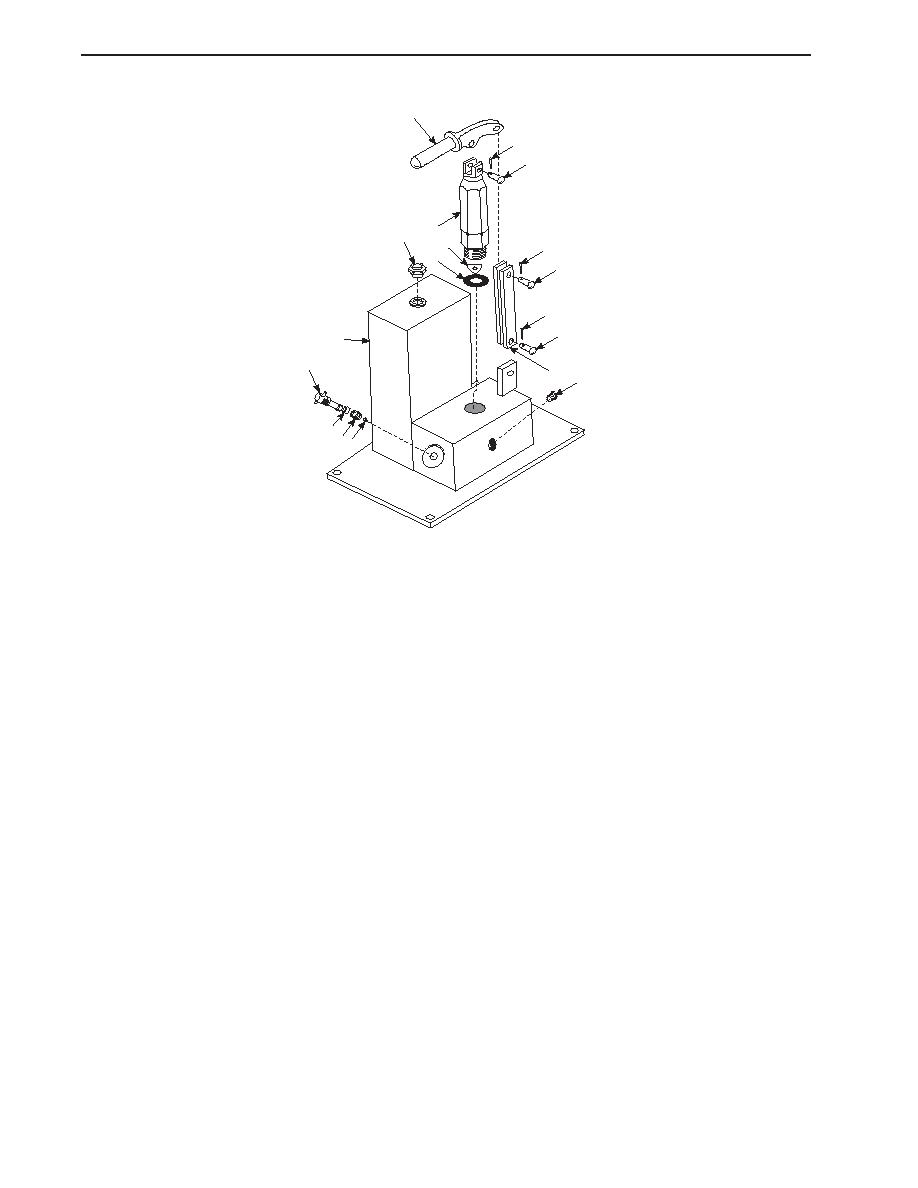
1.
Install the fill plug (16) loosely in the reservoir and block assembly (13).
2.
Install the washer (14) and filter (15) in the reservoir and block assembly (13).
3.
Install the pump piston assembly (12) into the reservoir and block assembly (13).
4.
Install the drain plug (11), ball (10), spring (9), release valve (8) and release screw (7) into the reservoir and block
assembly (13).
5.
Install the pump links (6) using the pin (5) and cotter pin (4).
0214 00-2
|
||
|
||


