
| Tweet |

Custom Search
|
|

|
||
 TM 55-1905-242-14
0219 00
REMOVAL--RAMP CABLE (continued)
3.
Position one crewmember in the pilothouse to operate the winch and one crewmember on the bow ramp to receive the
winch cable. The crewmember on the bow ramp must don protective leather gloves.
4.
Have the crewmember in the pilothouse operate the winch in the RAMP DOWN position while the crewmember on the
bow ramp fakes the winch cable onto the ramp. Pay out the winch cable until all of the winch cable has been removed
from the winch drum.
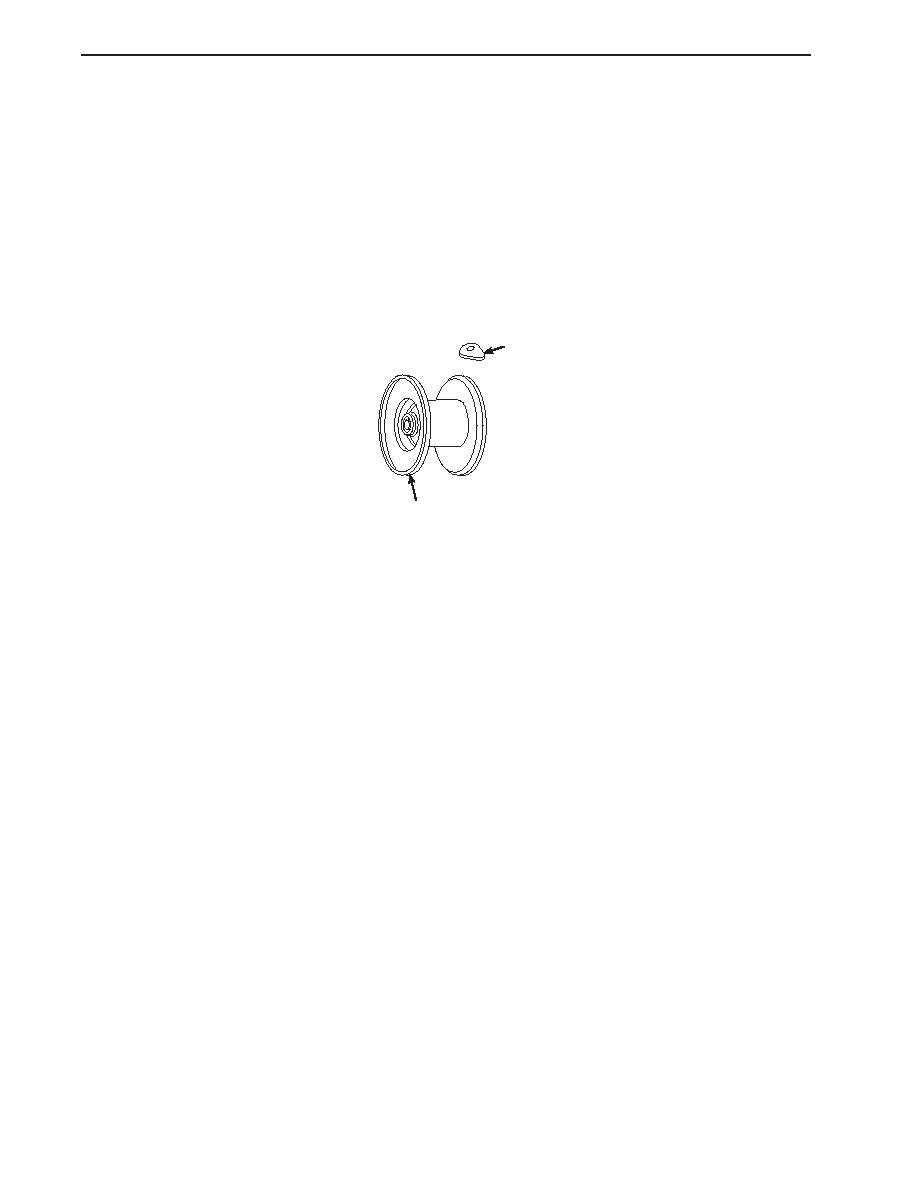
5.
Remove the wedge (8) that secures the bitter end of the winch cable to the winch drum (9), and remove the winch cable
from the winch drum.
6.
Pull the winch cable out of the ramp from the port side of the ramp, and fake it onto the cargo well deck.
8
9
INSTALLATION--RAMP CABLE
1.
Don protective leather gloves and feed the bitter end of the winch cable through the ramp and ramp sheaves from port
to starboard.
2.
Feed the bitter end of the winch cable through the wing wall sheave and to the winch drum (9).
3.
Secure the bitter end of the winch cable to the winch drum (9) with the wedge (8).
4.
Operate the winch in the RAMP UP position (winch in the cable) while one crewmember on the bow ramp keeps the
winch cable taut and the another crewmember ensures that the winch cable reels evenly onto the winch drum (9).
Continue winching until 3 to 4 wraps of the winch cable are taken around the winch drum. Cease winching.
5.
Attach the end of the ramp cable (6) to the dead head assembly (7) with the cotter pin (3), nut (4), and bolt (5).
6.
Position the access plate (2) on the bulkhead and secure it with the bolts (1).
7.
Resume operating the winch in the RAMP UP position (winch in the cable) while one crewmember on the bow ramp
keeps the winch cable taut and the another crewmember ensures that the winch cable reels evenly onto the winch drum
(9). Continue winching until the winch cable is taut against the ramp.
8.
Clear all personnel from the ramp area and raise and latch the ramp.
REMOVAL--SHEAVES
1.
If a ramp sheave will be removed, remove the bolts (10) that secure the access plate (11) to the bow ramp (12). Remove
the access plate. If the wing wall sheave will be replaced, access is gained through the cable opening in the wing wall.
2.
Remove the nut (13) and bolt (14) that secure the sheave (15) to its mount (16).
3.
Remove the sheave (15).
INSTALLATION--SHEAVES
0219 00-2
|
||
|
||


