
| Tweet |

Custom Search
|
|

|
||
 TM 55-1905-242-14
0223 00
REMOVAL--SECOND BOOM AND SECOND BOOM CYLINDER (continued)
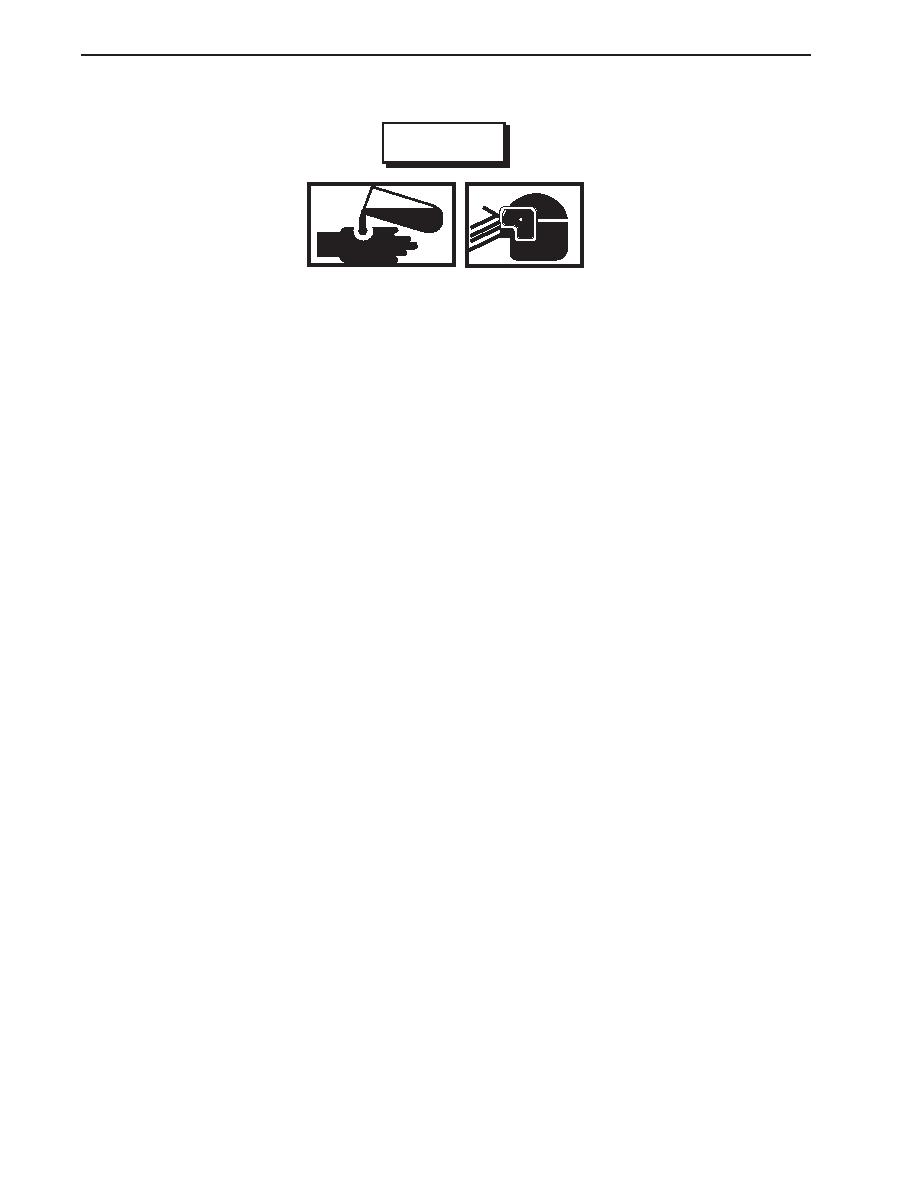
WARNING
Do not allow hydraulic fluid or cleaning solvent to come in contact with unprotected
skin or eyes. Prolonged skin contact can cause illness or injury. Eye contact can cause
serious injury. Always wear chemical protective gloves and goggles when handling
used hydraulic fluid and cleaning solvent. Failure to comply can result in illness, seri-
ous injury, or death.
1.
Remove the bolts (1), washers (2), and nuts (3) that secure the hose clamps (4) to the first boom (5) and the second boom
(6). Swing the extension cylinder hoses clear of the boom sections.
2.
Remove the nut (7), washer (8), and pin (9) that secure the rod end of the second boom cylinder (10) to the second
boom (6).
3.
Remove the nut (11), washer (12), and pin (13) that secure the piston end of the second boom cylinder (10) to the first
boom (5). Remove the second boom cylinder.
4.
Remove the nut (14), washer (15), and pin (16) that secure the second boom (6) to the first boom (5). Using additional
personnel or a suitable lifting device, remove the second boom.
DISASSEMBLY--SECOND BOOM
1.
Remove the bolts (17) that secure the wear pad (18) to the second boom (6). Remove the wear pad.
2.
Remove the bolts (19) and washers (20) that secure the mount (21) to the second boom (6). Remove the mount.
3.
Remove the bushings (22) and grease fitting (23) from the second boom (6).
REMOVAL--FIRST BOOM AND FIRST BOOM CYLINDER
1.
Remove the nut (24), washer (25), and pin (26) that secure the rod end of the first boom cylinder (27) to the first boom (5).
2.
Remove the nut (28), washer (29), and pin (30) that secure the first boom (5) to the pedestal (31). Using additional
crewmembers or a suitable lifting device, remove the first boom from the pedestal.
3.
Remove the nut (32), washer (33), and pin (34) that secure the piston end of the first boom cylinder (27) to the pedestal
(31). Remove the first boom cylinder.
DISASSEMBLY--FIRST BOOM
1.
Remove the grease fitting (35) from the pin (34) only if the pin or fitting will be replaced.
2.
Remove the bushings (36) and grease fitting (37) from the first boom (5).
0223 00-2
|
||
|
||


