| Tweet |

Custom Search
|
|
|
|
||

|
||
 0097 00
TM 11-5895-1847-12&P
3.
Unplug the 25-pin port plug (2), tagged IBM-TERM/PRNSB, from the A port of the INMARSAT-C data
terminal/INMARSAT-C printer auto switch (3).
4.
Loosen the mounting screws (4) on each side of the connector shell attached to port B.
5.
Unplug the 25-pin port plug (5), tagged GMDSS-J6/PRNSB, from the B port of the INMARSAT-C data terminal/
INMARSAT-C printer auto switch (3).
6.
Loosen the mounting screws (6) on each side of the connector shell attached to port C.
7.
Unplug the 25-pin port plug (7), tagged PRNSB/INMARSAT PRN, from the C port of the INMARSAT-C data
terminal/INMARSAT-C printer auto switch (3).
8.
Lift INMARSAT-C data terminal/INMARSAT-C printer auto switch (3) up to disconnect from hook and
pile tape.
INSTALL INMARSAT-C DATA TERMINAL/INMARSAT-C PRINTER AUTO SWITCH
1.
Obtain replacement INMARSAT-C data terminal/INMARSAT-C printer auto switch (3).
2.
Turn auto switch over and install two strips of peel and stick hook and pile tape to underside.
3.
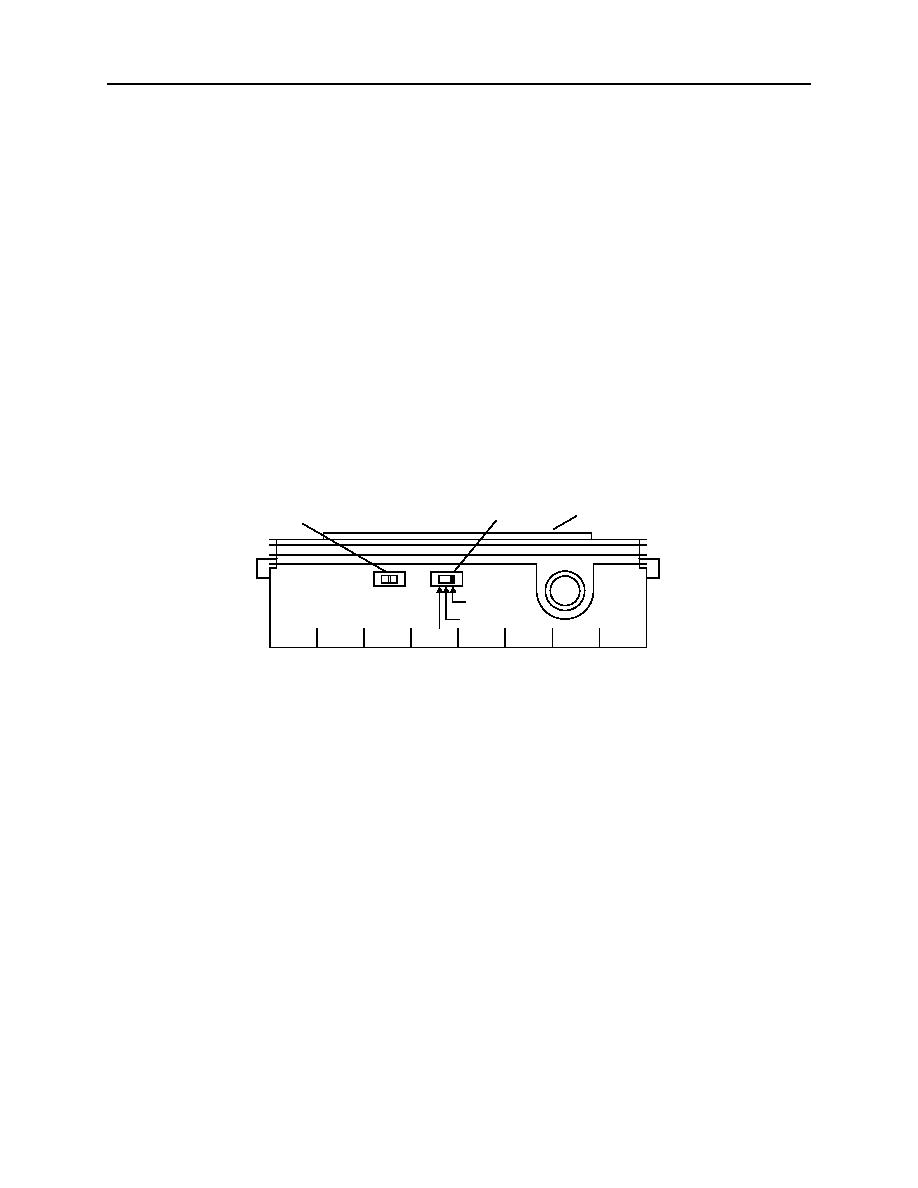
Set switches on side of auto switch (3) as follows:
9
3
8
(SPARE)
FD105EC
DC 6-9V
MADE IN
B
A
50mA
TAIWAN
FE10
AUTO
FD60
2C097-2
a.
Set switch (8) to AUTO position.
b.
Set switch (9) to FD 10 SEC position.
4.
Position auto switch and press down to attach to hook and pile tape.
0097 00 2
|
||
 |
||