| Tweet |

Custom Search
|
|

|
||
 TM 55-1905-217-34
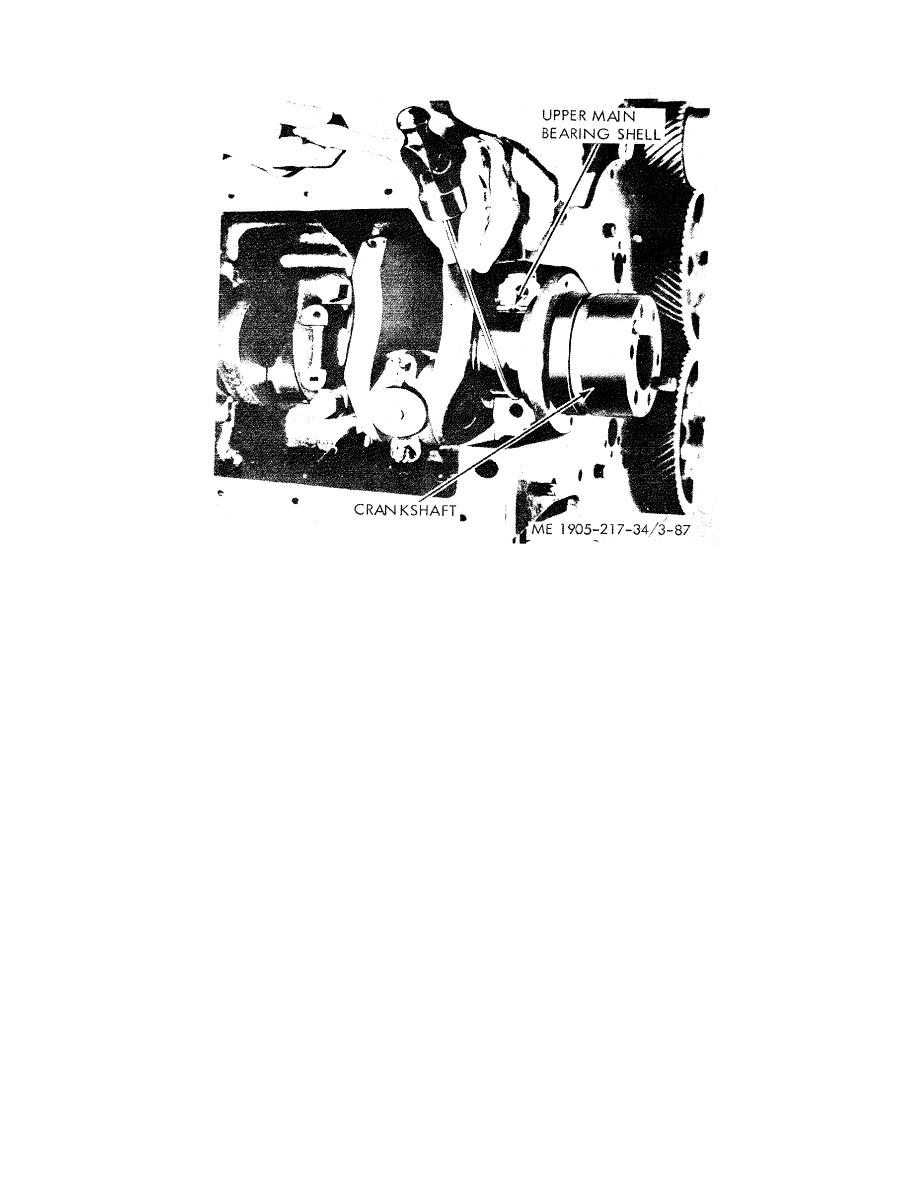
Figure 3-87. Rear main bearing upper shell, removal -crankshaft in place.
NOTE
Remove bearing shells one at a time, inspect and reinstall or replace, replacing all shells if only one or more need
replacing.
b. Cleaning. Clean the main bearings caps and shells with cleaning solvent (FEI). SPEC. PD-680) and dry
thoroughly.
c. Inspection and Repair.
(1) Visual inspection, as well as dimensional measurements, should be made to determine whether used
bearings are satisfactory for further service or must be replaced.
(2) Bearing failures may result from contamination of oil or loss of oil which results in scratching, scoring
or excessive wear. An analysis of the oil may be required to determine if corrosive acid and sulfur is present resulting in
acid etching, flaking and pitting. The oil filter elements should be checked. Also, the oil by-pass valve should be check to
assure it is operating freely.
(3) After removal, clean the bearing shells and inspect them for scoring, pitting, flaking, chipping, cracking,
loss of babbitt or signs of overheating. If any of these defects are present, the bearings must be discarded. However,
babbitt plated bearings may develop minute cracks or small isolated cavities on the bearing surface during engine
operation. These are characteristics of and are NOT detrimental to this type of bearing. The lower bearing shells, which
carry the load, will normally show signs of distress before the upper shells do.
(4) Inspect the back of the bearing shells for bright spots which indicate they have been moving in their
caps or crankcase. If such spots are present, discard the bearings.
(5) The thickness of the bearing shells should be measured at a point 90from parting line.
(6) Tool J 4757, placed between the shell and a micrometer will give an accurate measurement. The
bearing shell thickness will be the total thickness of steel ball in tool and shell, less the diameter of ball. The above is the
only practical method for measuring shell thickness unless a special micrometer is available for this purpose.
3-118
|
||
 |
||