| Tweet |

Custom Search
|
|

|
||
 TM 55-1905-217-34
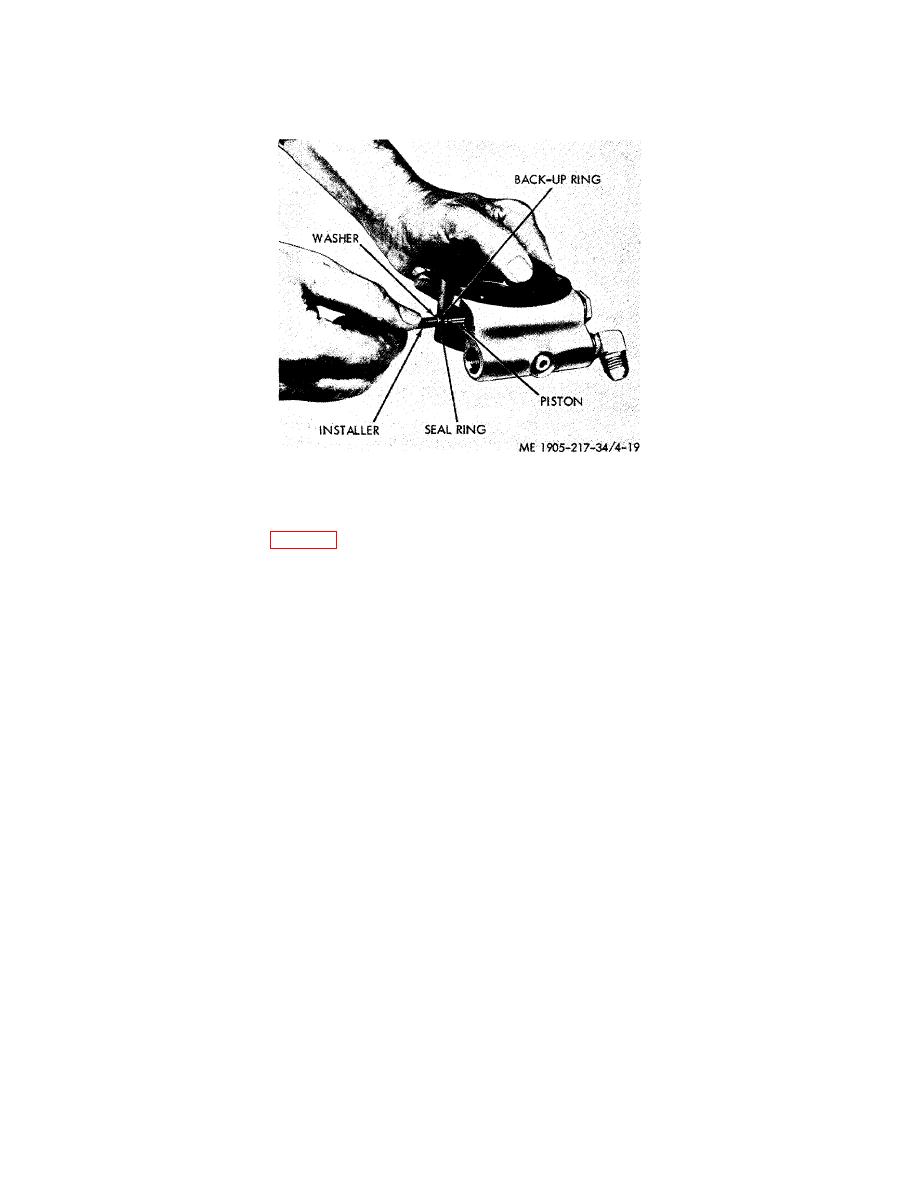
Figure 4-19.. Installing pressure relief piston backup ring,
seat ring, and washer, with tool J 7192.
(4) Remove the washer (40, fig. 4-17) and inspect the work to make certain the seal ring (39) is completely in the
counterbored hole and that the pressure relief piston (35) is down solidly against the spring seat (12).
(5) Reassemble the washer (40) over the pressure relief piston (35), insert the compression spring (34) and secure it
in place with the plug (33). Use sealing compound sparingly on the threads of the plug.
(6) Insert the baffle (26), check valve assembly (with the spring end facing out) and the baffle (29) into the pump
body. Screw the check valve retainer (30) into the body, against the baffle, and tighten it to 120-140 in-lb torque. Place
the spacer (31) in the body on top of the check valve retainer (30) and install pump outlet elbow (32), using sealing
compound on the threads. Do not apply sealant on the last thread nearest the open end of the elbow.
(7) Insert the baffle (23) and check valve assembly (with the spring end of the assembly in first) into the pump body.
Screw the check valve retainer (19) into the body against the check valve cage (20) and tighten it to 120-140 in-lb torque.
Install the pump inlet elbow (18), using sealing compound on all of the threads except the last one nearest the open end
of the elbow.
(8) If the pump-to-reservoir return elbow (25) and plug (16) were removed, apply sealant to all except the first threat
on the elbow and plug and reinstall them.
(9) Assemble the pump piston (17) and retaining spring (37) in the pump body.
(10) Install the bearing and shaft assembly in the pump body. Work the retaining spring (37) up on the bearing (9).
(11) Affix a new gasket (6) to the pump body (24) and press the bearing retainer (41) by hand into the pump body.
(12) Install a new oil seal (42) in the bearing retainer (41) as follows:
(a) Apply a thin coat of sealing compound to the outer edge of the oil seal casing.
(b) Place the seal lip protector tool J 7191- 3 over the shaft, lubricate the lip of the seal and slide the seal, lip side
first, over the seal lip protector and down to the bearing retainer, (fig.4-20).
4-20).
4-31
|
||
 |
||