| Tweet |

Custom Search
|
|

|
||
 5.
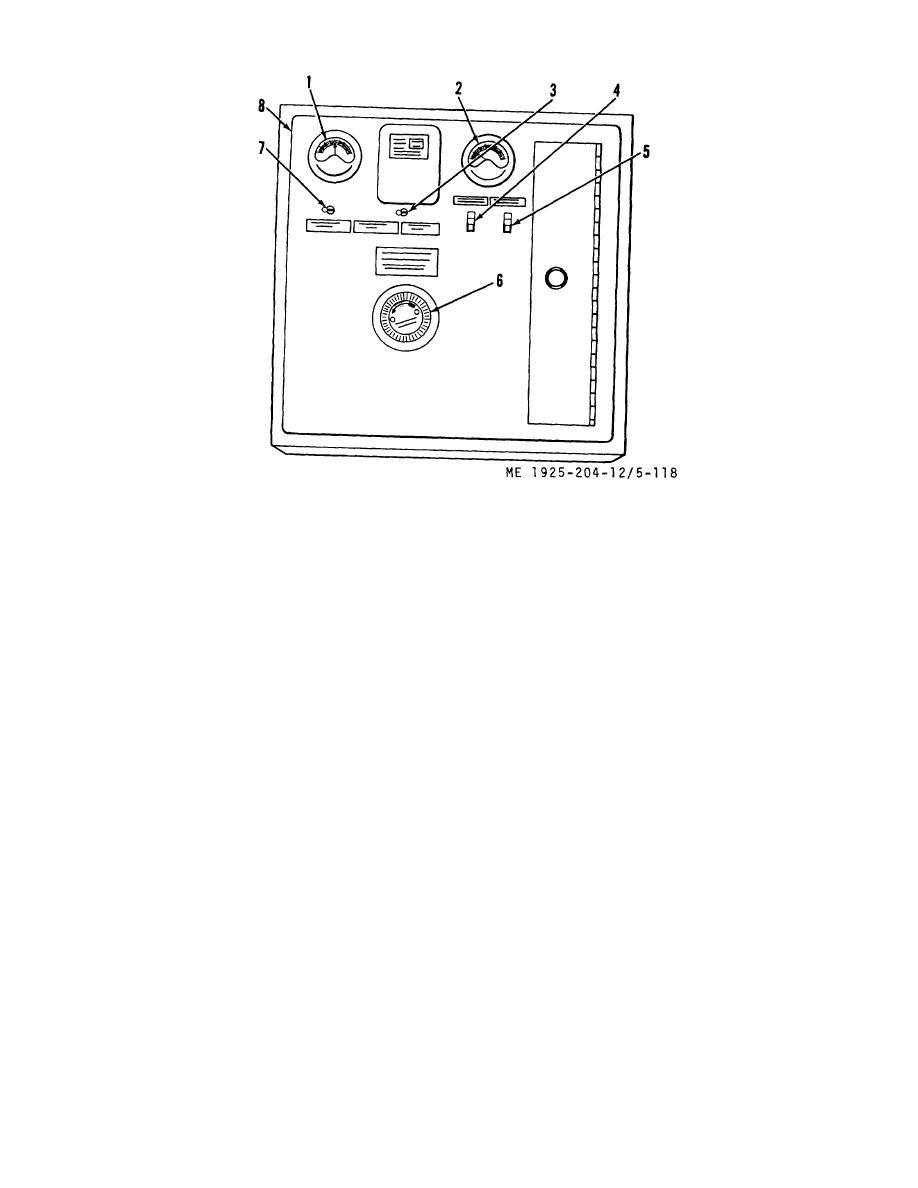
Main switch
1.
6.
Rheostat wheel
2.
Ammeter
7.
Battery volt switch
3.
Battery selector switch
8.
Panel door
4.
Trickle charge switch
Figure 5-118. Battery charging panel.
current relay.
Tag wires for proper reinstallation.
(3) Disconnect two wires from voltmeter
Remove mounting screws and lift out reverse current
(1). Tag wires for proper reinstallation. Remove three
mounting screws from face of voltmeter and lift out
(10) Disconnect four wires from resistors at
voltmeter.
rear of the panel. Tag wires for proper reinstallation.
(4) Disconnect two wires from the ammeter
Remove mounting screws and lift out resistors.
(2). Tag wires for proper reinstallation. Remove three
(11) Disconnect two wires from rheostat.
mounting screws from face of ammeter and lift out
Tag wires for proper reinstallation. Remove mounting
ammeter.
screws and lift out rheostat.
(5) Disconnect wires from battery selector
(12) Remove and replace blower fuses. Be
switch (3). Tag wires for proper reinstallation. Remove
sure to replace fuses with proper amperage rating.
mounting locknut and lift out battery selector switch.
c. Cleaning, Inspection, and Repair. (1) Inspect
(6) Disconnect wires from the battery volt
the voltmeter
switch (7). Tag wires for proper reinstallation. Remove
mounting locknut and lift out battery volt switch.
(1). If voltmeter was not operating prior to
(7) Disconnect wires from trickle charge
removal or is damaged, replace.
(2) Inspect the ammeter (2). If ammeter
switch (4). Remove the mounting screws and lift out
was not operating prior to removal or is damaged,
charge switch.
replace.
(8) Disconnect wires from main switch (5).
Remove mounting screws and lift out main switch.
(3) Inspect battery selector switch (3); if
(9) Disconnect three wires from reverse
damaged, replace switch.
5-170
|
||
 |
||