
| Tweet |

Custom Search
|
|

|
||
 TM 55-1905-223-24-1
NOTE
Mark valves for location prior to removal. The intake and
exhaust valves are different.
Marking valves will aid the
assembly procedures.
(2) Remove valve collets (2), spring retainer (4), spring (5), spring guide (3), and valve (6).
(3) Repeat procedure for each of four valves.
(4) Apply a thin and even coating of lapping paste on the valve.
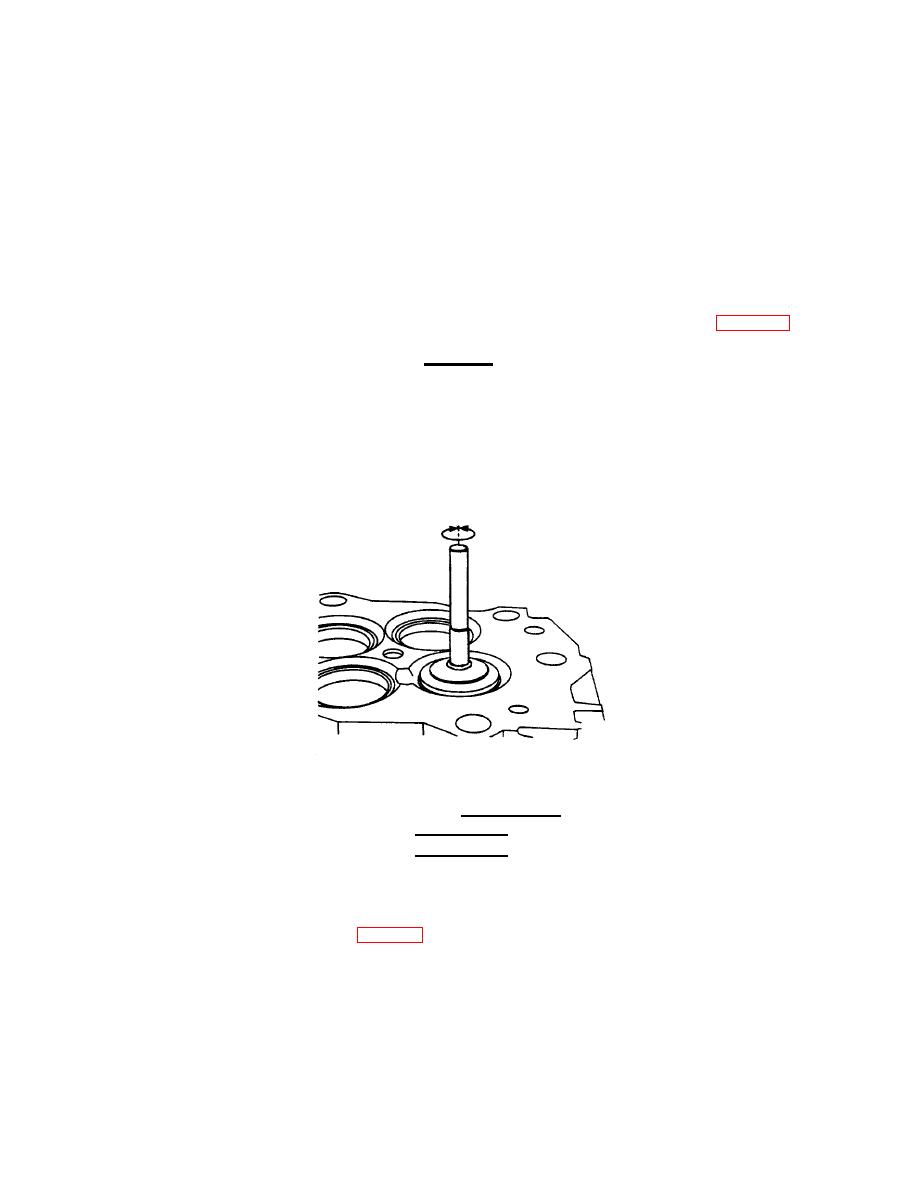
(5) Use lapping tool. Provide pressure in the center of the valve. Turn the valve backward and forward
until
the paste shows a continuous pattern on both the valve seat insert and the valve (FIG. 4-23).
CAUTION
Lapping paste is an abrasive material. Failure of the internal
engine components will result if the cylinder head, the valves,
and the valve seats are not cleaned thoroughly.
(6) Clean the lapping paste from the parts.
FIGURE 4-23.
Valve Lapping.
WARNING
The valve springs are under compression. Use care when using the
valve spring compressor. Personnel injury can result if the tool slips.
(7) Use valve spring compressor (1, FIG. 4-3). Install valve (8), spring guide (3), spring (5), spring retainer
(4), and valve collets (2).
(8) Vacuum test cylinder head (step b-27).
4-22
|
||
|
||


