| Tweet |

Custom Search
|
|

|
||
 TM 55-1905-217-34
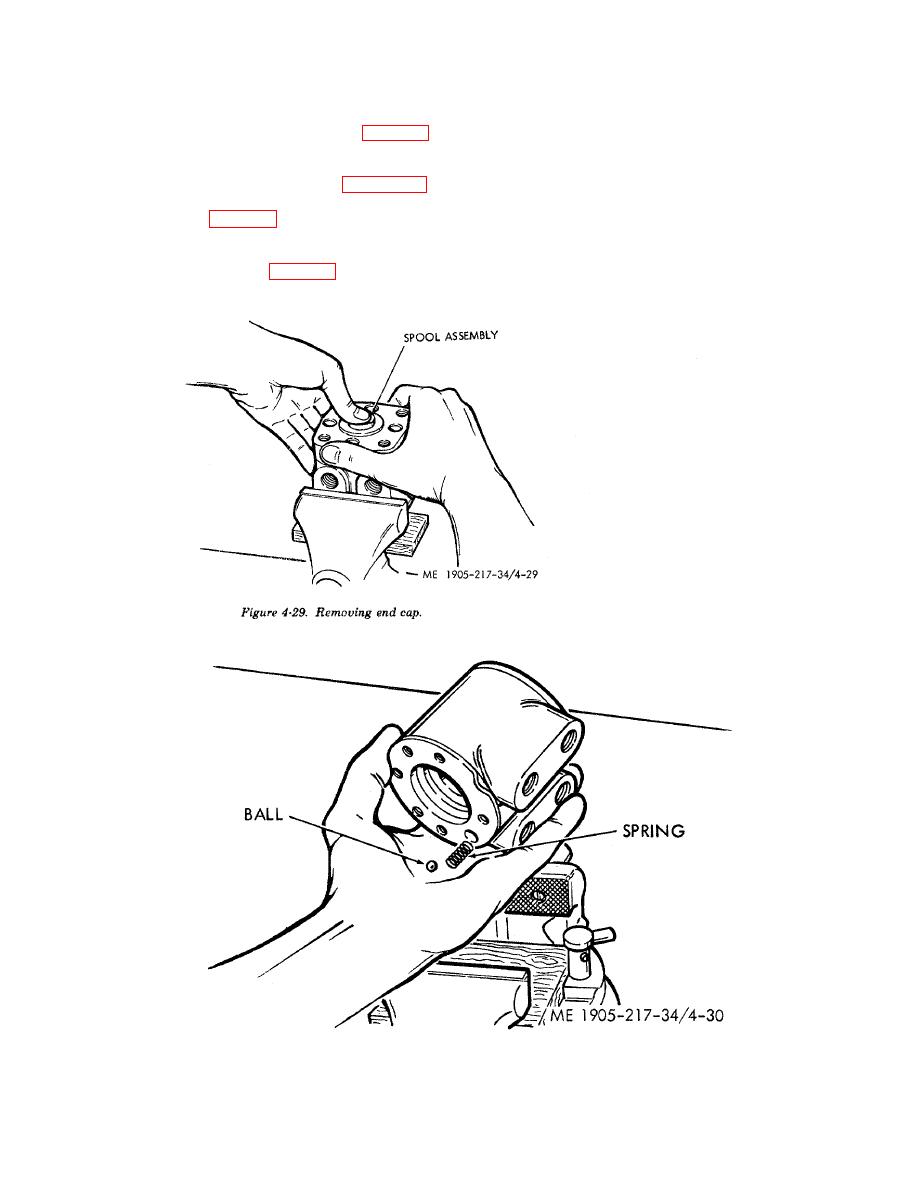
(6) Place a clean wooden block across the vise throat to support spool parts and clamp unit across port face with
control end up. Remove four cap screws (23, fig. 4-27).
(7) Hold spool assembly down against block in vise (fig. 4-29) and lift off end cap. Inspect end cap and housing
mating surfaces for obvious leakage path, wear, seal condition.
(8) Remove cap locator bushing (19, figure 4-27).
(9) Place housing on solid surface with port face down, so that it can be held securely, and remove spool-sleeve
assembly (16, and 13, fig. 4- 27) from the 14 hole end of housing. Be extremely careful to prevent these parts from
binding, as they are very closely fitted. They must generally be rotated slightly as they are withdrawn.
(10) Place housing in vise, control end up and unscrew check valve seat (10) with 3/16 hex wrench.
(11) Up end the housing (fig. 4-30) and tap slightly with butt of hand. Hold check valve hole toward lowest corner
and remove check valve seat, ball, and spring.
Figure 4-30. Removing check valve seat, ball, and spring.
4-46
|
||
 |
||