| Tweet |

Custom Search
|
|

|
||
 TM 55-1905-223-24-1
NOTE
If the valve head is even with the end of the tool before grinding,
the valve will not be thick enough for a second grinding.
(12)
Use a gauge block to measure the distance between the tool and the valve head. The valve
head thickness is acceptable when the head is even with or above the end of the tool.
NOTE
The following check is not as accurate as the previous check.
Perform this check only if valve head checking tools are not
available.
(13)
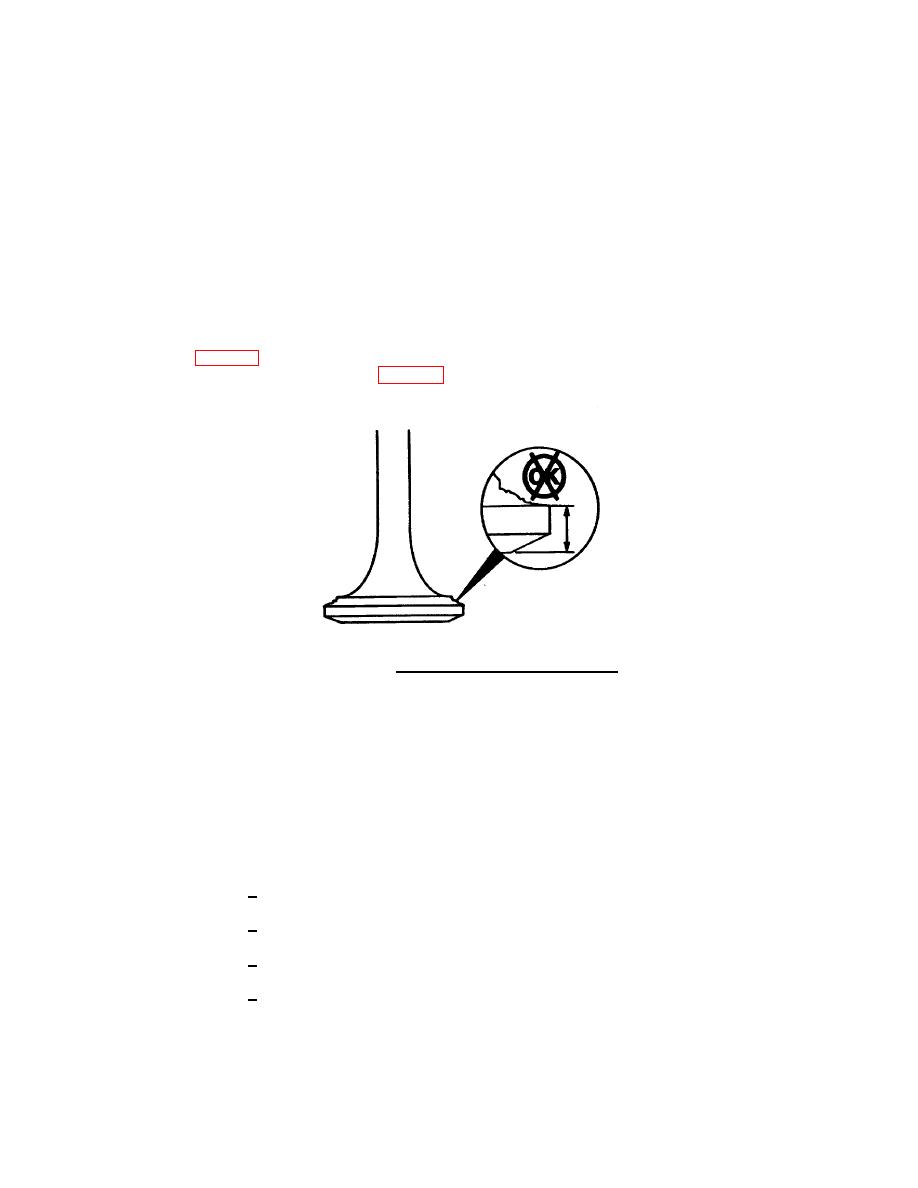
Place valve on a flat surface. Check the height of the valve head at the outside diameter
(2.16 mm) for intake valve. FIG. 4-8. Valve Head Height Measurement.
FIGURE 4-8. Valve Head Height Measurement.
(14)
Use the dye penetrant method or magnetic crack detector to check for cracks on the
combustion surface of the cylinder head.
(a) Dye penetrant method.
NOTE
Porosity usually appears as dots in local areas. Cracks usually
appear as solid or dotted lines. A wider spread indicates a
larger defect.
1
Apply dye penetrant to combustion surface of cylinder head.
2
Allow 15 minutes for dye to dry. Do not force dry.
3
Remove excess dye penetrant.
4
Apply developer.
4-11
|
||
 |
||