| Tweet |

Custom Search
|
|

|
||
 TM 55-1905-223-24-1
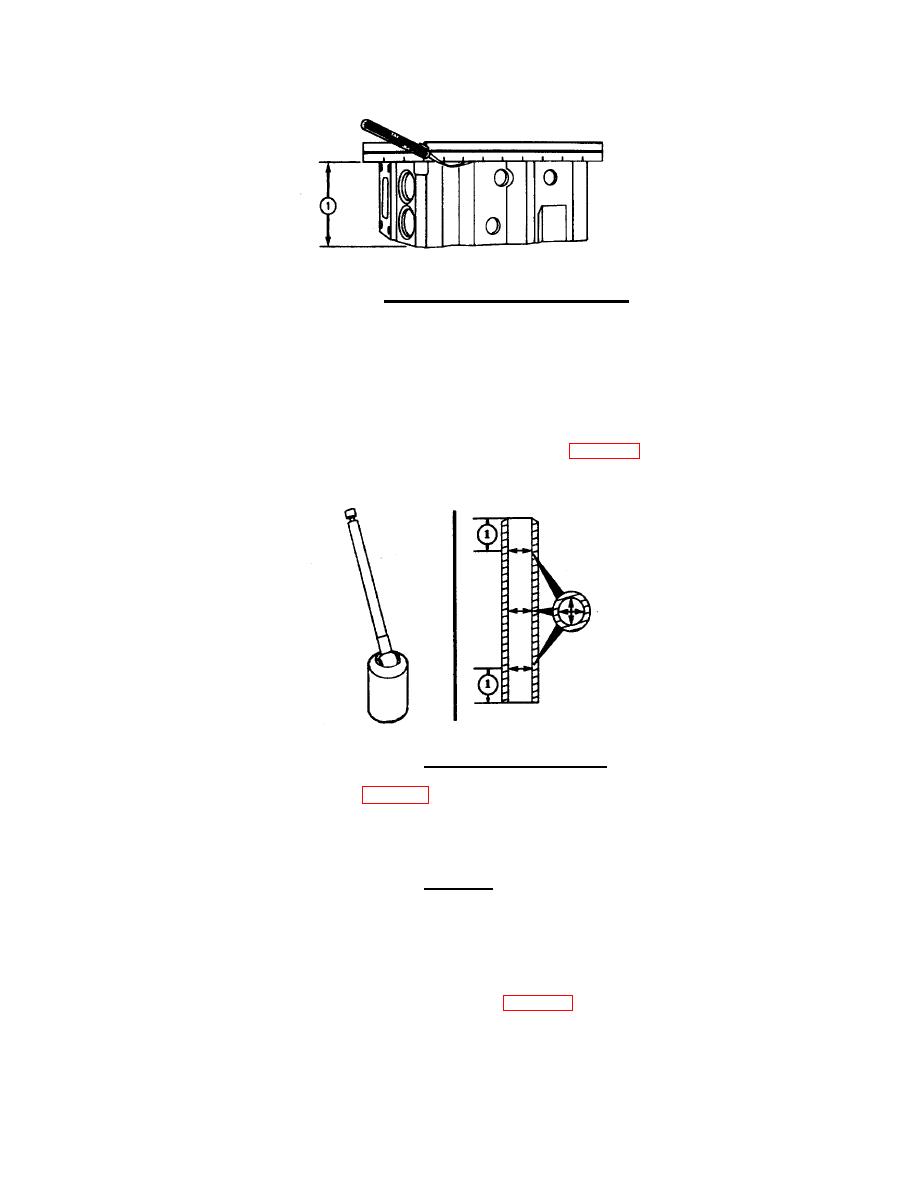
FIGURE 4-9.
Head Gasket Surface Measurement.
NOTE
The valve guide can be used again if measurements performed
near the top and bottom are greater than 0.4987 inch (12.667
mm).
(18)
Use a ball gauge or dial bore indicator. Measure the inside diameter of the valve guides 0.5
inch (13 mm) from the top and bottom and in the center (FIG. 4-10). Verify inside
diameter is between 0.4961 inch (12.601 mm) and 0.4987 inch (12.667 mm).
FIGURE 4-10.
Valve Guide Measurement.
(19) Verify crosshead guide (6, FIG. 4-3) is straight. Use micrometer to verify outside
diameter is between 0.4320 inch (10.973 mm) and 0.4335 inch (11.011 mm).
(20)
Magnetic crack check valves.
CAUTION
Always demagnetize and clean parts thoroughly after a
magnetic particle inspection. The iron fragments can damage
the internal engine components. A demagnetizing coil is
supplied with the magnaglo tester.
(a) Use magnaglo tester to check the valves (8, FIG. 4-3) for cracks. Check the exhaust
valves with the coil shot method. Check the intake valves with the coil shot and head shot
methods (coil shot first).
4-13
|
||
 |
||