| Tweet |

Custom Search
|
|

|
||
 TM 55-1905-223-24-1
NOTE
It may be necessary to bring the crankshaft end clearance to specifications by
installing oversize bearings. In extreme cases, a new or reconditioned
crankshaft must be used.
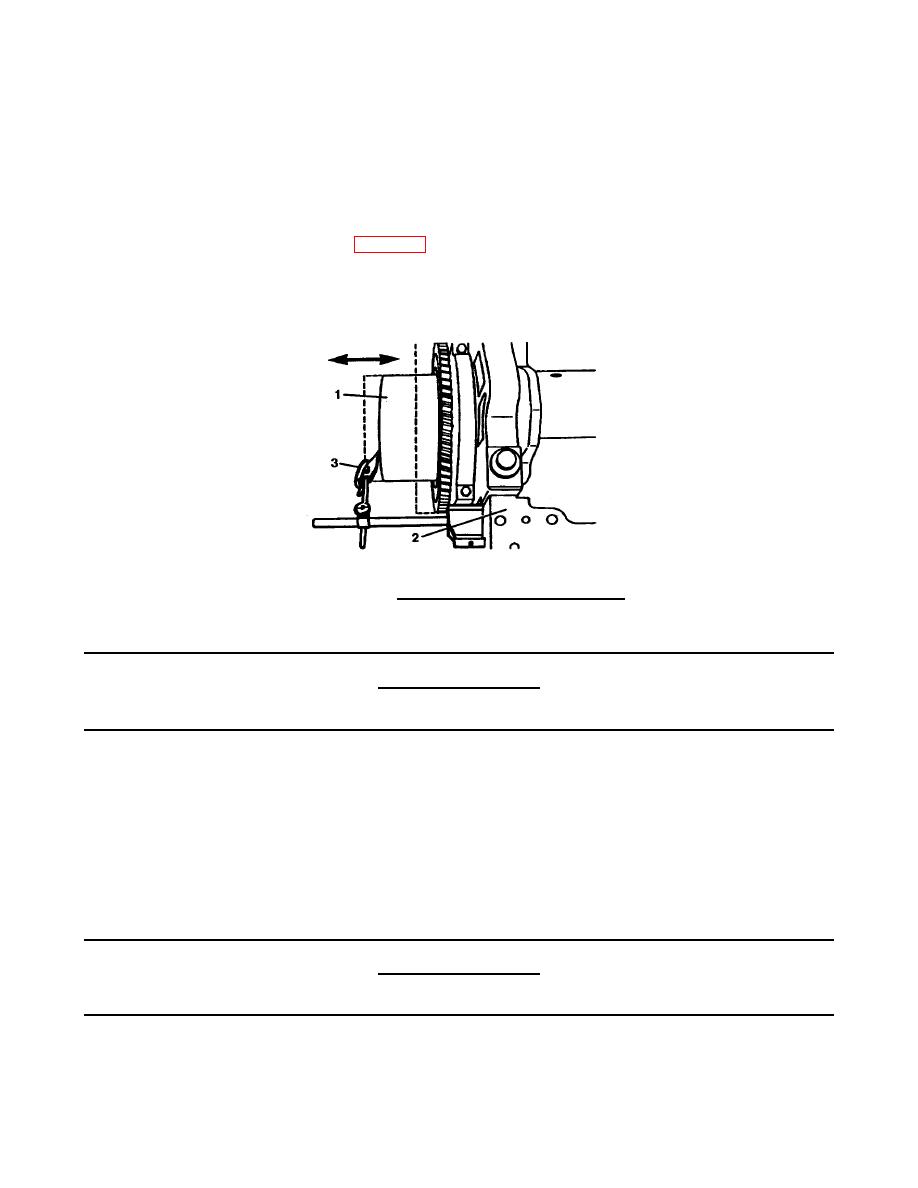
o. Attach a dial indicator gauge (3, FIG. 4-61) to the cylinder block (2) with the contact point of the
gauge resting on the crankshaft flange end-face. Measure end clearance. If end clearance is not
between 0.005 inch (0.13 mm) and 0.020 inch (0.51 mm), c eck for foreign matter on thrust bearings
h
and crankshaft flange.
FIGURE 4-61. Crankshaft End Clearance Check.
Table 4-5. Main Bearing Capscrew Tightening
Capscrew Torque Value
N
m
Step
ft-lb
175
1
130
285
2
210
610
3
450
Loosen
4
Loosen
175
5
130
285
6
210
610
7
450
Table 4-6. Main Bearing Cap Side Bolt Tightening
Capscrew Torque Value
N
m
Step
ft-lb
65
1
50
215
2
160
455
3
335
4-55
|
||
 |
||