| Tweet |

Custom Search
|
|

|
||
 TM 55-1905-223-24-5
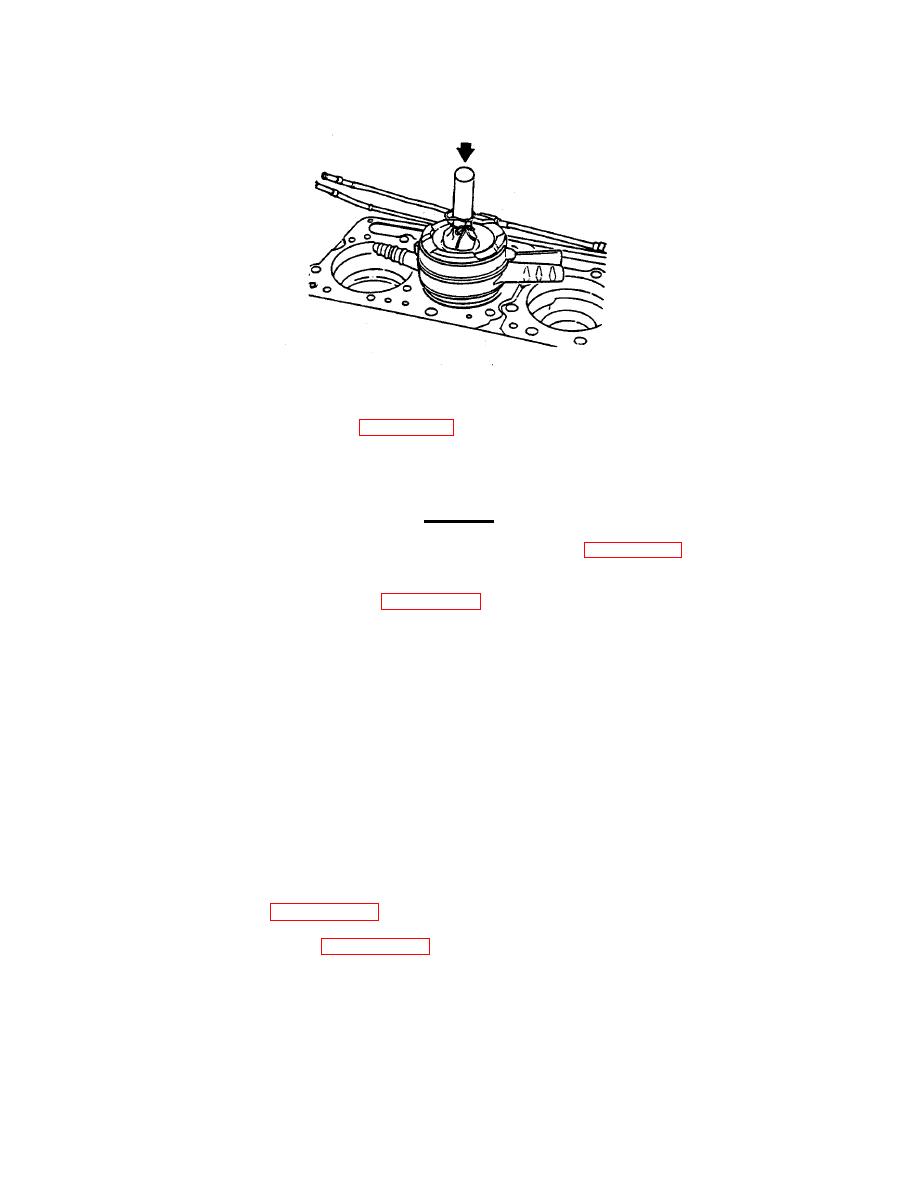
FIGURE 3-77. Using Piston Ring Compressor.
k. Install the lower rod bearing (3, FIGURE 3-74) in the connecting rod cap (6).
l. Lubricate the bearing shell (3) with Lubriplate 105 or its equivalent. Lubricate the connecting rod
capscrew (5) threads and the washer face with the engine lubricating oil.
CAUTION
The connecting rod cap and rod numbers must match (FIGURE 3-78) .
m. Install the connecting rod caps (6, FIGURE 3-74) and the capscrews.
n. Tighten the rod capscrews (5) in alternating sequence to the following torque values:
(1) Tighten to 75 ft-lb torque.
(2) Tighten to 170 ft-lb torque.
o. Measure the connecting rod side clearance. The side clearance must be between 0.0045 inch (0.114
mm) and 0.13 inch (3.30 mm).
NOTE
The connecting rod must move freely from side to side on the crankshaft journal.
If the rod does not move freely, remove the rod cap and make sure the bearing
shells are the correct size. Check for dirt or damage on the crankshaft and the
bearing shells.
p. Install the oil pan (paragraph 2-44).
q. Install the cylinder heads (paragraph 2-41).
3-118
|
||
 |
||