| Tweet |

Custom Search
|
|

|
||
 TM 55-1905-242-14
0156 00
INSTALLATION--FLUSHING VALVE
1.
Clean the pipe threads with a wire brush and wrap the male pipe threads with antiseizing sealant tape.
2.
Thread the flushing valve (6) onto the flushing inlet pipe (7). The flushing valve handle should be on top when the final
tightening is completed.
3.
Thread the nipple (5), elbow (4), and hose fitting (3) assembly into the flushing valve (6). The hose fitting should be
pointing toward the intake hose (2) when the final tightening is completed.
4.
Slide the intake hose (2) over the hose fitting (3) and secure it with the hose clamp (1).
5.
If no further repairs will be accomplished, remove the lockouts and tagouts and check the operation of the system,
ensuring that no leaks are present.
REMOVAL--FLUSHING SWITCH
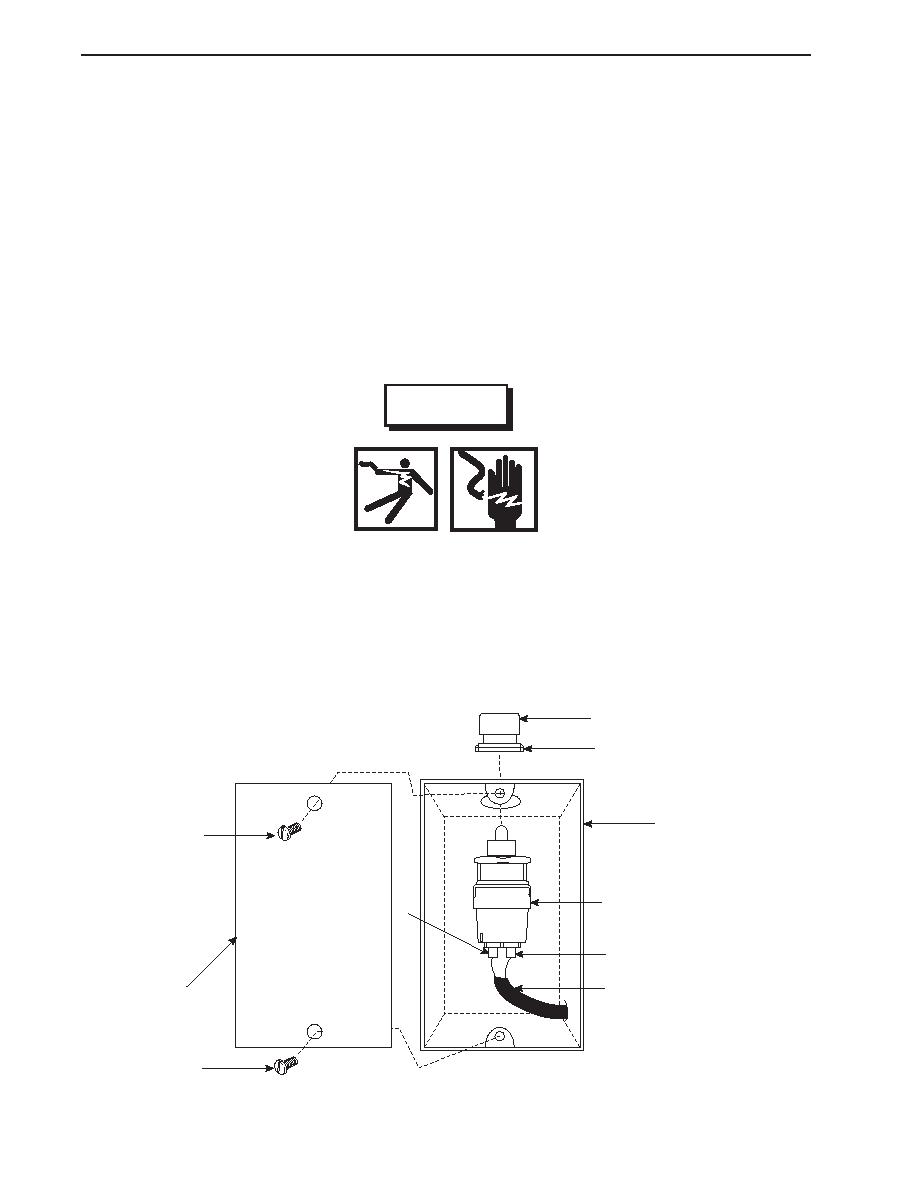
WARNING
Repair flushing system only after its power source has been secured, locked out, and
tagged out. Performing repairs with the system energized may result in damaged equip-
ment and serious injury or death to personnel.
1.
Remove the screws (8) that secure the cover plate (9) to the junction box (10).
2.
Set the multimeter to the Vdc (Volts direct current) setting and attach one lead to each of the flushing switch terminals
(11). If no voltage is noted, proceed to the next step. If voltage is noted, ensure that the circuit breaker is properly
secured.
14
15
10
8
13
11
11
12
9
8
0156 00-2
|
||
 |
||