| Tweet |

Custom Search
|
|

|
||
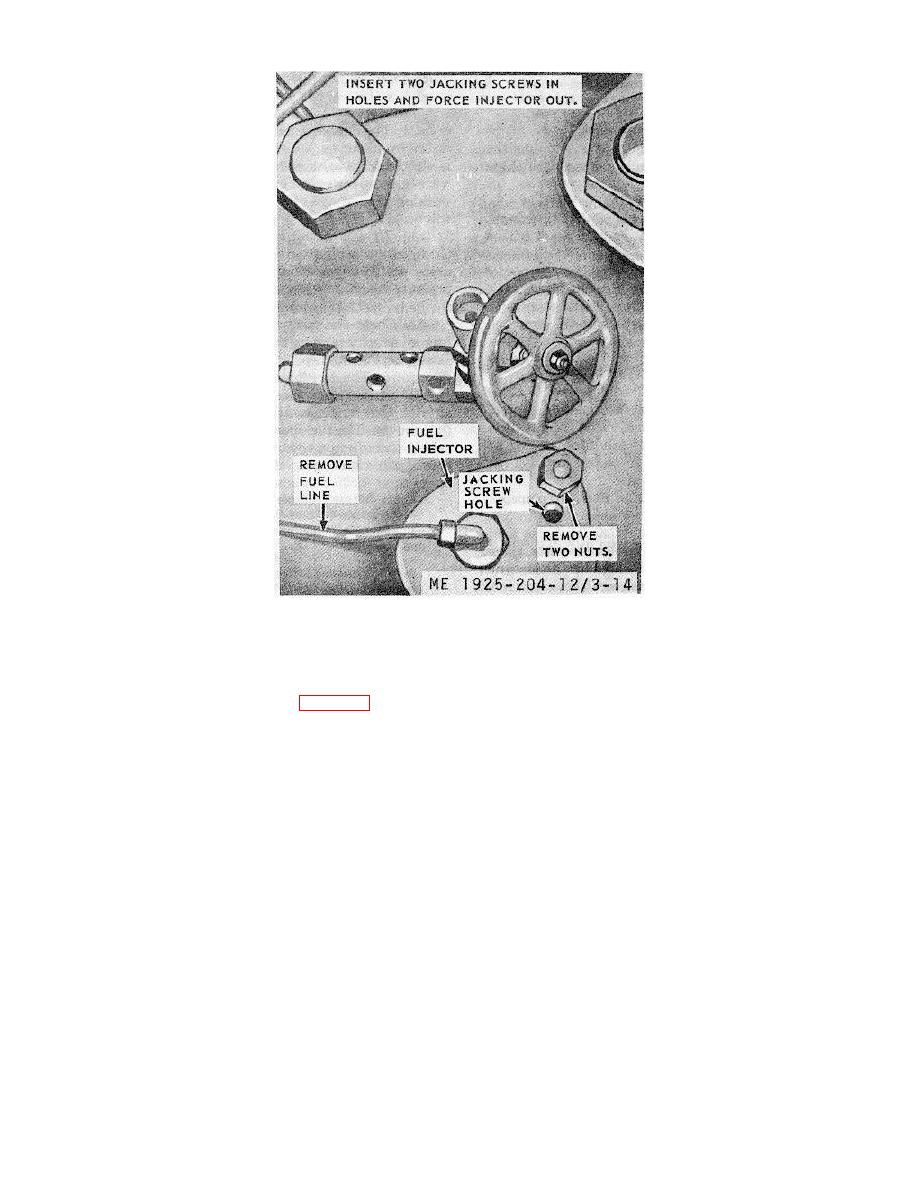
 Figure 3-14. Fuel injector removal and installation.
(3)
Place the fuel injector on a clean work
needle can then be tapped loose
bench.
from the sleeve.
c. Disassembly.
(5) Place body (12) on workbench in an
(1) Clamp the body (12, fig. 3-12) in a vise
inverted position. Use a wood block over tip (16).
and remove retainer (1), housing (9), gasket (10), spring
Strike the block with a hammer and remove tip (16),
(21), shim (22), and pushrod (19). Tag the shim for
then remove gasket (15).
proper reinstallation identification.
NOTE
(2) Remove retainer (18), vent plug (2), and
When more than one fuel injector is
ball (3).
removed use individual oil pans. Do
(3) Remove body from vise. Place a clean
not mix injector parts.
cloth on workbench. Invert the body an the stop (11) will
d
(6) Place fuel injector parts in a pan filled with
drop out.
clean fuel oil.
(4) Replace the body in the vise. Insert a
(7) Replace body (12) in vise to remove body
needle lapping tool, or a piece of soft wood slotted at the
(4) and gasket (8).
end, and tap it gently to wedge it to the top of the needle
(8) Remove gasket (7), then push sleeve (5)
(13). Withdraw the tool used, with needle (13) attached.
and filter (6) from body (4),
NOTE
d. Cleaning, Inspection, and Repair.
If the needle is stuck and will not
(1) Soak the tip (16) in fuel oil to loosen the
come out with the tool used. strike
carbon. Use compressed air at tip to blow loose carbon
the tip (16) with a block of wood.
from spray orifice.
This will loosen the sleeve (14), so
that sleeve and needle (13) can be
removed by inverting the body. The
3-41
|
||
 |
||