| Tweet |

Custom Search
|
|

|
||
 TM 55-1905-242-14
DIRECT SUPPORT MAINTENANCE
FOR LANDING CRAFT, MECHANIZED (LCM-8) (ALL VESSELS WITH MOD 2 APPLICATION)
CRANE ASSEMBLY SLEWING UNIT, REPLACE/REPAIR
INITIAL SETUP:
Tools and Special Tools:
Materials/Parts:
Tool Kit, Mechanic's Rail and Marine (Item 1,
Hydraulic Fluid (Item 1, Table 2, WP 0230 00)
Table 1, WP 0230 00)
Cleaning Solvent MIL-PRF-680 (Item 2, Table 2, WP 0230
Suitable Drain Pan
Gloves, Chemical Protective (Item 3, Table 2, WP 0230 00)
Equipment Condition:
Goggles, Industrial, No Vents (Item 4, Table 2,
Crane positioned at midpoint of slewing
rotation
Rag, Wiping (Item 5, Table 2, WP 0230 00)
Starboard propulsion engine secured, locked
References:
out, and tagged out IAW FM 55-502
FM 55-502
Personnel Required:
TM 55-1905-242-24P (WP 0101)
Two Watercraft Engineers, 88L
REMOVAL
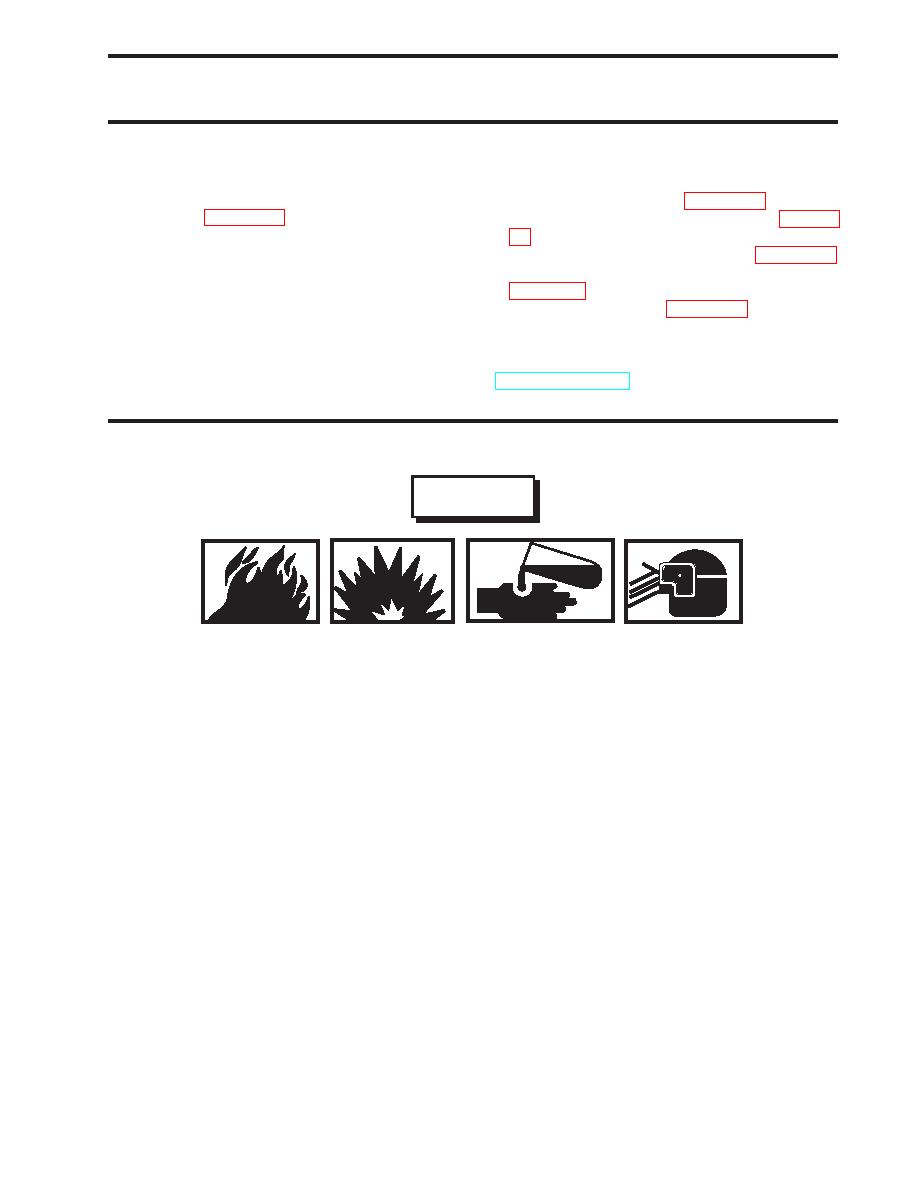
WARNING
Cleaning solvent is flammable and its vapor is potentially explosive. Do not use clean-
ing solvent in the vicinity of spark, open flame, or excessive heat. Do not use cleaning
solvent in unventilated spaces. Failure to comply can result in serious injury or death.
Do not allow hydraulic fluid or cleaning solvent to come in contact with unprotected
skin or eyes. Prolonged skin contact can cause illness or injury. Eye contact can cause
serious injury. Always wear chemical protective gloves and goggles when handling
used hydraulic fluid and cleaning solvent. Failure to comply can result in illness, seri-
ous injury, or death.
1.
Before securing the starboard propulsion engine, operate the crane and position it at the midpoint of its slewing rotation.
2.
Secure the starboard propulsion engine and perform appropriate lockout/tagout procedures in accordance with
FM 55-502.
3.
Don chemical protective gloves and goggles and position a suitable drain pan beneath the work area.
NOTE
Cotter pins, lockwashers, locking nuts, and similar locking devices shall be discarded after removal and replaced with
new cotter pins, lockwashers, locking nuts and similar locking devices.
4.
Remove the bolt (1), lockwasher (2), nut (3), and line clamp (4) from the mounting bracket (5).
5.
Label and remove all the hydraulic lines (6) from the slewing cylinders (7) and block (8).
0193 00-1
|
||
 |
||