| Tweet |

Custom Search
|
|

|
||
 TM 55-1905-242-14
0190 00
REMOVAL (continued)
1.
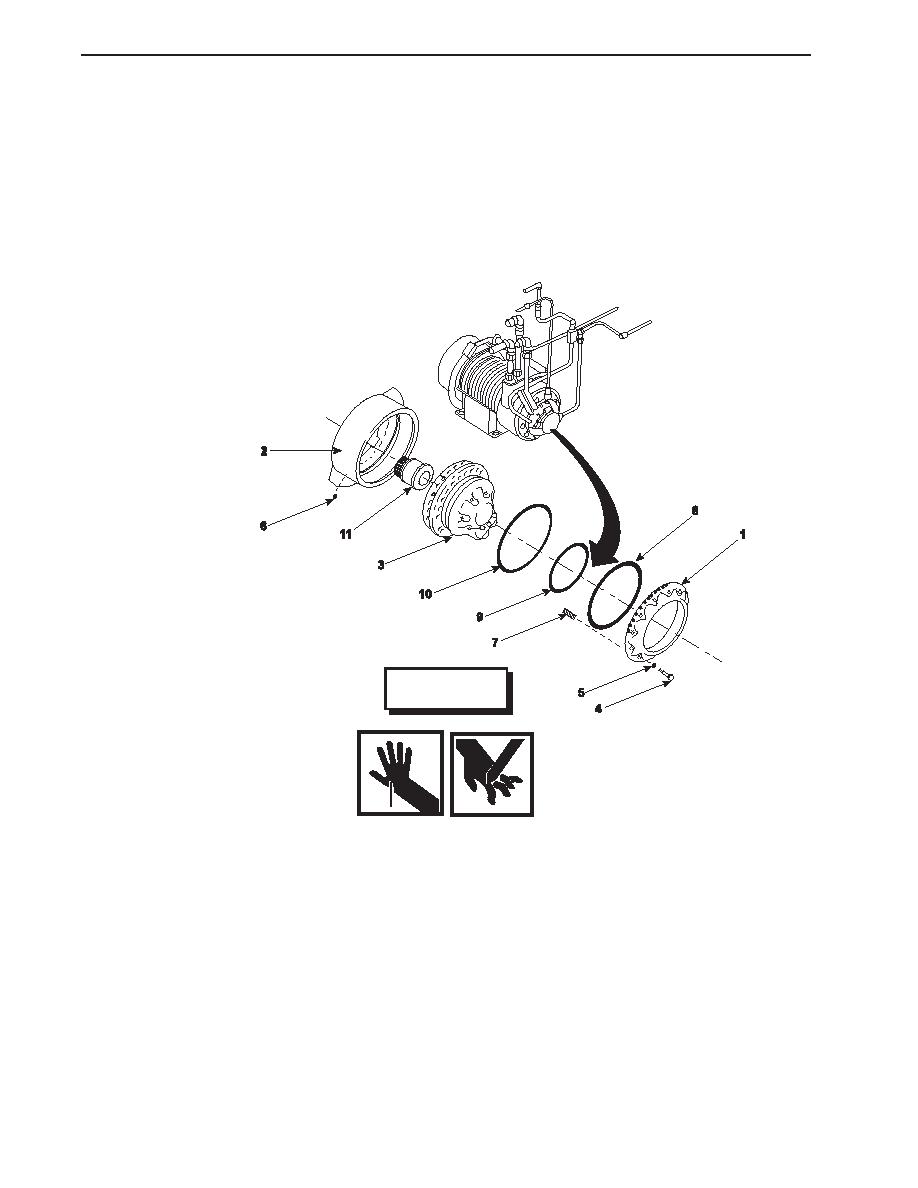
Match mark the spring cover (1) to the primary housing (2) and to the motor assembly (3) so that these parts may be
oriented correctly upon assembly.
NOTE
Cotter pins, lockwashers, locking nuts, and similar locking devices shall be discarded after removal and replaced with
new cotter pins, lockwashers, locking nuts and similar locking devices.
2.
Position a suitable drain pan beneath the primary housing (2) and drain its oil by removing one of the bottom bolts (4)
with its seal washer (5), and by removing one pipe plug (6) from the top of the primary housing to permit air to enter.
WARNING
The spring cover is under extreme spring pressure. Use extreme caution when removing
the spring cover. Loosen all bolts evenly, one-half turn at a time, until all spring tension
has been relieved. Failure to comply can result in serious injury or death.
3.
Remove the remaining bolts (4) and seal washers (5) by loosening each bolt one-half turn at a time until all the spring
pressure has been relieved. Remove the spring cover (1) after all of the spring pressure has been relieved and all of the
bolts (4) and seal washers (5) removed.
NOTE
In most cases, there will be a spring in every hole. However, in certain applications fewer
springs are required, and it is important that they be located symmetrically when they
are replaced. Note and mark any hole that does not contain a spring.
4.
Mark any holes in the spring cover (1) that do not contain a spring (7). Remove the springs (7) from the spring cover.
0190 00-2
|
||
 |
||