| Tweet |

Custom Search
|
|

|
||
 f. Assembly.
d. Disassembly.
(1) Reassemble all parts in the reverse order of
(1) To remove contacts (1 and 2) from contactor
disassembly.
remove screw which holds each to contact post and withdraw
(2) Adjust airgap between shoes to 9/16 inch.
from contactor.
(2) To remove spring (6) from contactor, unhook
g. Installation.
spring from boltholes and remove from contactor.
(1) Position contactor on controller panel and bolt in
(3) To remove coil (8) remove cotter pin and shaft
place with mounting bolts.
(7) from contactor and swing armature away from coil.
(2) Connect electrical leads, check all electrical
(4) Disconnect coil terminal wires.
connections for tightness, and install fuses in fuse clips.
(5) Remove capscrew (4), core (9), and coil (8)
from contactor.
5-48.
Lubricating Oil Purifier
e. Cleaning, Inspection, and Repair.
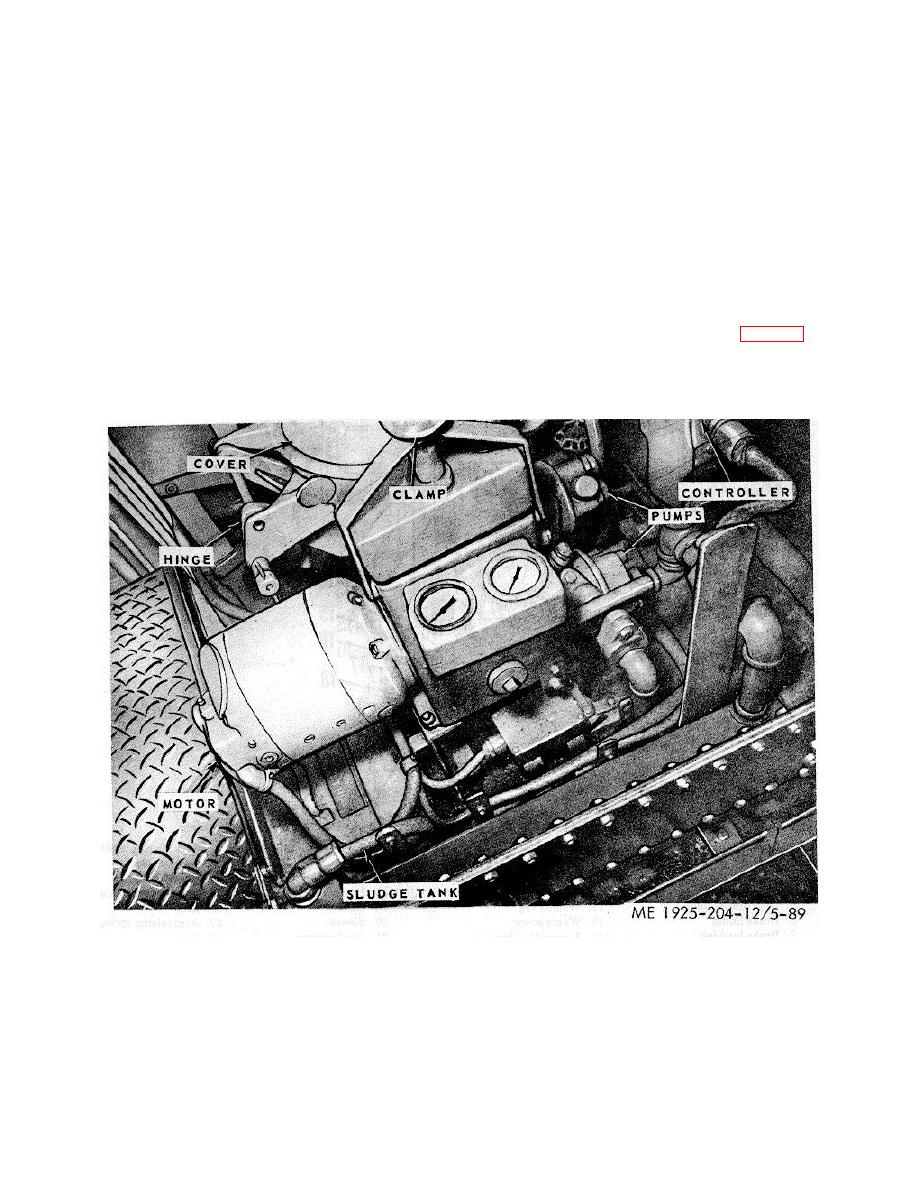
a General. The lubricating oil purifier is a centrifugal-
(1) Inspect springs and replace if spring has lost
disc type purifier. Included as part of the purifier is the inlet and
tension.
outlet gear pumps. It is driven by a 1/2-hp, 115-vdc motor, with
(2) Wipe all parts clean using cloth moistened with
a start-stop magnetic controller.
dry cleaning solvent in conformance with FED SPEC P-D-680.
b. Frame Cover and Inlet Arm.
(3) Inspect coil windings for evidence of short
(1) General. The frame cover (fig. 5-89) is hinged
circuit or damaged insulation. If windings are defective replace
to the main frame of the oil purifier and houses the centrifugal
coil.
discs of the bowl. The inlet arm extends from the main frame,
(4) Inspect contacts and replace contact shoes that
out over the cover, and is clamped to both.
are worn to one-half their original length.
Figure 5-89. Lubricating oil purifier.
5-119
|
||
 |
||